Advertisement
Unlike modern navigational aids, a map and compass don’t need batteries or signal reception, and they still work after being dropped. Your old-school orienteering skills are rusty? Here’s a refresher on the very basics.
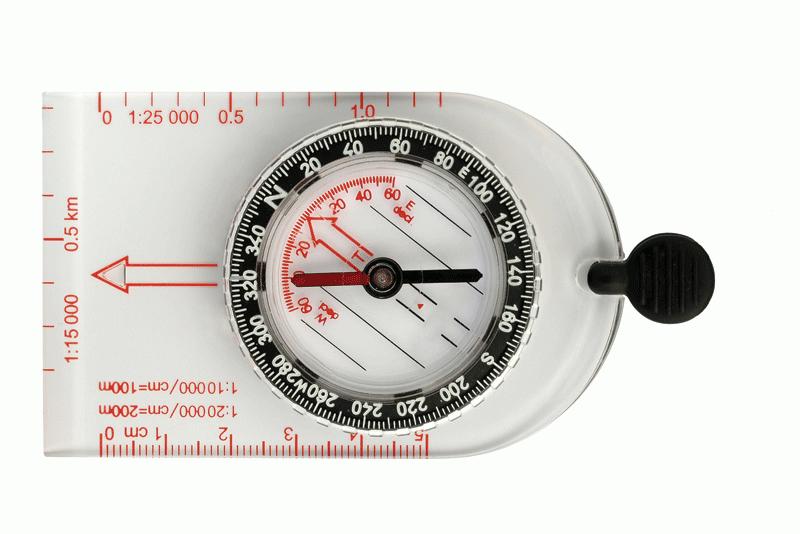
Compass: Assuming you know your location on a map, you can use the map and a compass to take bearings and plan a route to a specific destination. The best compass for this is the orienteering style (pictured) with a clear base plate imprinted with a direction of travel arrow, and a rotating bezel (or compass housing) with compass points, degree markings, orienting lines and an orienting arrow.
Advertisement
Bearing: To take a bearing, align the edge of the compass with your starting and finishing points on the map. Then rotate the bezel so the orienting arrow and orienting lines point north, as indicated on the map. The bearing (the degree marking on the bezel) you need to follow will be aligned with the direction of travel arrow. To follow that bearing, hold the compass level and turn until the red end of the magnetic needle lines up with the north-facing orienting arrow on the bezel. As long as you keep the needle aligned like this, the direction of travel arrow will point in the direction you should go. To avoid major obstacles, such as cliffs or lakes, you may need to plot a number of shorter legs.
Drift: While skirting the likes of trees, boulders and dense undergrowth, you will almost certainly wander off your direct route. Safeguard against this “lateral drift” by taking a back bearing. Before leaving your starting point, turn 180 degrees and look for a distant landmark aligned with the south end of the needle. As you move toward your destination, occasionally turn around. If the white end of the needle isn’t pointing at your rear landmark, regain your line by moving left or right until it is.