The world's best trout fly
Next time you tie one on for trout, use the famous Peacock Despair
Advertisement
For many years, Jack Sutton was Mr. Everything in the fishing tackle department at the old Simpsons store in downtown Toronto. Anglers of all ages and abilities came to pick his brains on all things fishing, although those who received the most attention were the folks wanting to know more about fly fishing. Sutton was not only a superb fly fisherman, fly tier, rod builder and salesman, he was also one of the best tournament casters in Canada. If a youngster was polite and demonstrated a keen interest in trout fishing or any of the various skills connected to fly fishing, Sutton would take him under his wing. I should know: I was one of those youngsters, and he would show me little secrets that were not generally recognized by the fly-tying fraternity.
But the best thing he ever showed me was how to tie his very own creation, the Despair nymph. In my opinion, it’s the finest trout fly ever invented.
Advertisement
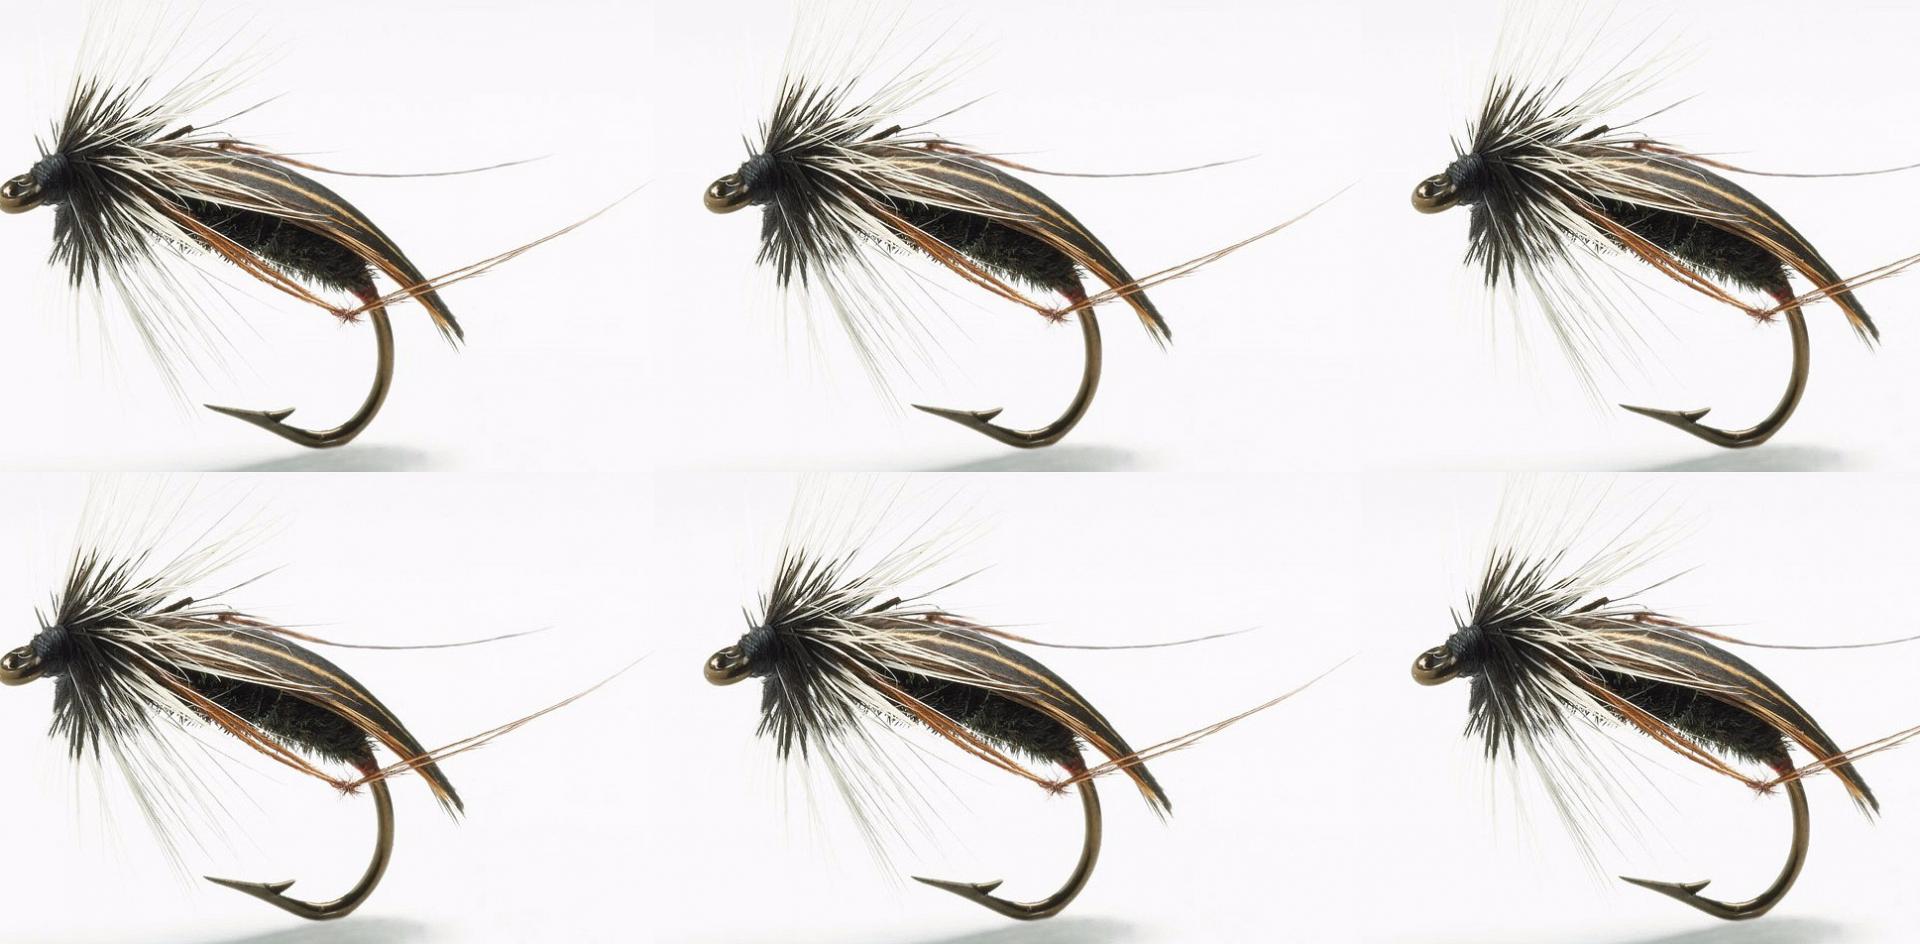
Along with Sutton’s Red Badger streamers, the Despair became a standard pattern 70 years ago in Ontario and Quebec, where it’s still used today (it has also gained some popularity in the rest of the country in recent years). Sutton’s original pattern was intended to duplicate a stonefly nymph and, as he himself noted, it was somewhat of a bastardized crane fly pattern. Actually, the fly could easily replicate a number of nymphs, including that of the dragonfly.
Perhaps no one has used the Despair more than I have. I tied my first one in the early 1940s, and since then I’ve taken the liberty of making several minor alterations, some of which I discussed with Sutton himself. To his credit, he did not take umbrage with my modifications, which included removing the tail, doubling the wing and fattening the body. And in the 50-odd years I’ve been tying and using this fly (fished like a nymph), many thousands of brookies, browns and ‘bows have fallen for its charms. I use two basic versions: the original Peacock Despair and the newer Green Despair, which is exactly the same as the original, except the body consists of green seal fur with gold ribbing. Tie them, try them and you’ll know what I’m talking about.
 Simon Cheung
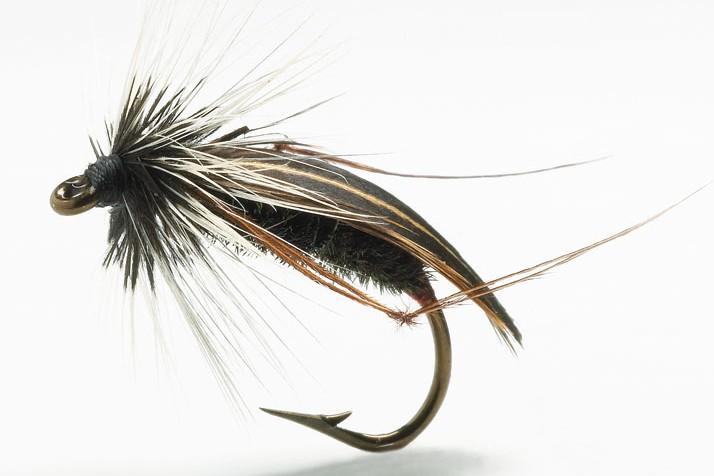
How to make the Peacock Despair
- Wrap thread around middle of hook and back to just before hook bends downward.
- Tie in 3 to 4 inches of twisted 4-strand floss for ribbing (or use tinsel instead of floss, if you prefer).
- Tie in 4 or 5 strands of peacock herl.
- Wrap peacock herl forward, leaving room at front for wing and hackle.
- Create a sparse tag using the ribbing material before starting to wrap it forward, spacing it with no more than 4 or 5 turns.
- Select two prominently striped grouse or Hungarian partridge feathers for wings. They should be just slightly longer than the hook shank. To help position wings, flatten butts of the feathers after stripping excess feather material by pressing them with scissors handle against the tabletop. Tie in wings flat and horizontally.
- Select two pairs of pheasant tail fibres for legs. Tie an overhand knot in each pair, positioning knots to about half the length of the hook. This is most easily accomplished by arranging the fibres in a U-shape between your thumb and finger, then folding the fibre tips back across the U to form a circle. Use a bodkin to pluck the tips through the circle, then slowly pull tight while positioning the knot-or the leg joint-for length.
- Tie in the legs one at a time so they resemble the leg action of a swimming frog.
- Select badger hackle so fronds, when extended, just reach the barb tip. Tie in completely around throat.
- With thumb and first fingers of one hand, fold hackle back and tie over with the other hand to form the head.