Get a Handle On It
Catch-and-Release Is a Common Practice These Days, But Are You Doing It the Right Way?
Advertisement
Every year, thousands of sportfish die unnecessarily because they were mishandled before being returned to the water. But it doesn’t have to be that way. Whether you’re fishing waters with mandatory catch-and-release or you simply don’t plan to keep your catch, it’s important to understand and implement responsible fish-handling practices. To ensure fish stay alive after they’re put back, here’s what you need to do—and avoid.
1. Organizing
Before you make your first cast, make sure you have all the tools you need at the ready to remove any hooks from the fish. Depending on the size and species of fish you’re targeting, you’ll need anything from hemostats to jaw-spreaders and pliers. By having the right tools on hand, the less time the fish will be out of the water, and the better off it will be.
Advertisement
2. Playing
Nothing beats the powerful tug and run of a trophy-sized fish, and playing it is what it’s all about. But a fine line exists between playing a fish to the point where it can be safely brought to boat and fighting it to exhaustion. Reel the fish in too fast and it may still be too energetic to handle and quickly release. Play it too long, however, and the fish may become too stressed to survive after being released. Experienced anglers learn to identify the happy medium.
3. Netting
Regardless of whether you’re fly fishing a stream or working open water from a boat, use a net whenever possible. We often watch tournament anglers hoist smaller fish up into the air at the end of their line and into the boat. When done swiftly and efficiently, I would argue this has little negative effect on the fish. But we’re not all pro anglers. If the fish ends up falling to the bottom of your boat, wriggling to escape, it will undoubtedly become stressed, and potentially injured. Netting the fish is an effective way to reduce the risk of stress, but it needs to be done with care.
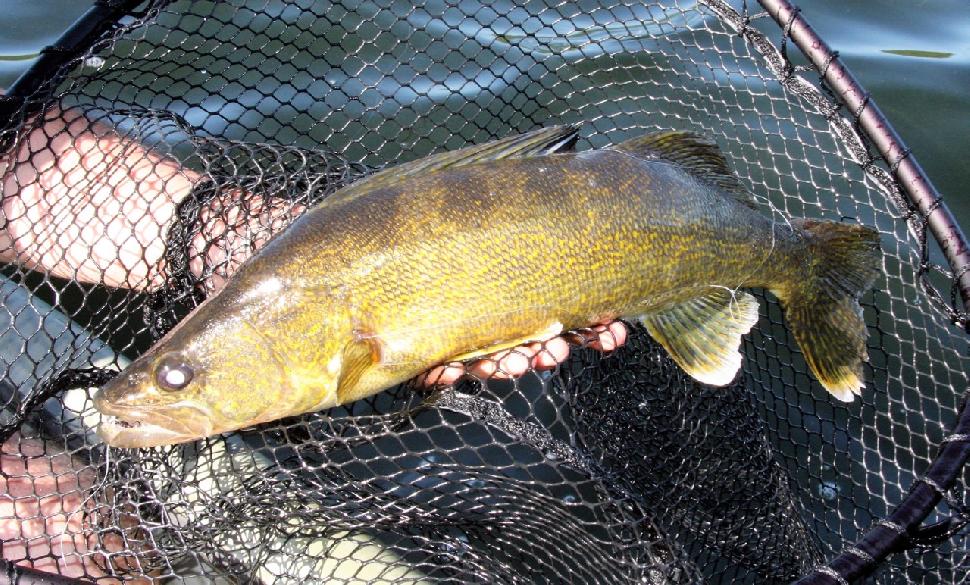 Kevin Wilson
Woven-mesh nets have long been used because they work. But fish, particularly pike, often get wrapped up in the mesh as they roll and thrash, trying to escape. Add a sharp hook still embedded in the fish’s mouth and you have a recipe for a prolonged release, again adding undue stress to your catch. To avoid this, consider using one of the newer soft-rubber mesh nets (above), which cushion the fish and prevent tangles, making for a quicker hook removal and release.
Advertisement
Also, be sure the net is the right size for the species of fish you’re targeting. For larger fish, such as pike or lake trout over 10 pounds, for example, consider using a cradle. You can buy a cradle at a tackle shop, or you can make one using two hockey-stick shafts and durable tight-knit mesh fabric. The idea is to partially submerge the cradle in the water, then guide the fish into it. Once the fish is corralled at the side of the boat or along the shoreline, it’s much easier to handle it and remove the hook, making for a trouble-free release.
4. Handling
The less you actually handle a fish, the better. Always wet your hands first or, even better, wear a fish-handling glove. Dry hands can stick to and remove your catch’s protective layer of slime, exposing the fish to harmful bacteria and disease.
Advertisement
5. Removing Hooks
Removing single hooks is normally a simple procedure. Problems can arise, however, when the fish aggressively inhales a lure with multiple treblehooks and gets deep-hooked. For species such as pike, walleye and bigger lake trout, it’s best to immobilize the fish in this situation by gently holding it vertically under the gill plate as you extract the hooks. For smaller perch and trout species, hold the fish horizontally around the torso. This is where it’s important to have a spreader and pliers or hemostats at the ready to reach down into the mouth to remove the hooks. Again, this should be done as quickly and carefully as possible to minimize stress or injury.
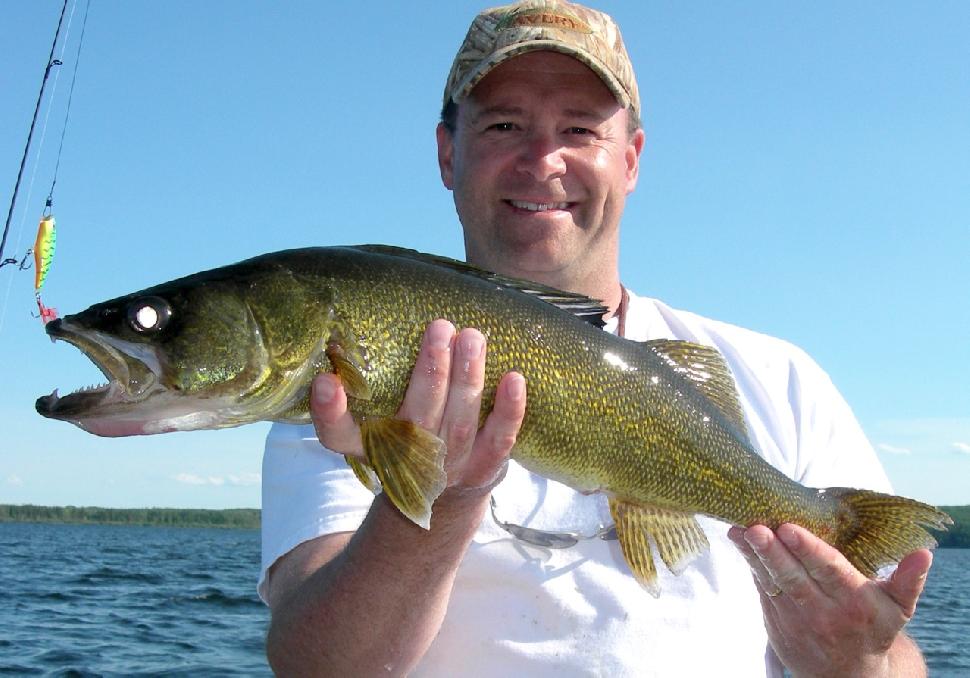
6. Photographing
After removing the hooks, many of us want to snap a few photos of our catch. This is perfectly acceptable—as long as it’s done correctly, quickly and efficiently. Fish should be carefully gripped in one of three ways: by the lower lip, as with bass or perch; under the gill plate with one hand, taking care not to make contact with the gills themselves, and under the belly with the other hand; or by the tail with one hand and under the belly with the other. The last hold is preferred, but some fish are less cooperative than others, requiring a firm but gentle grip on the gill plate. Avoid hanging a large fish vertically, as this can dislocate its spine.
 Kevin Wilson
7. Releasing
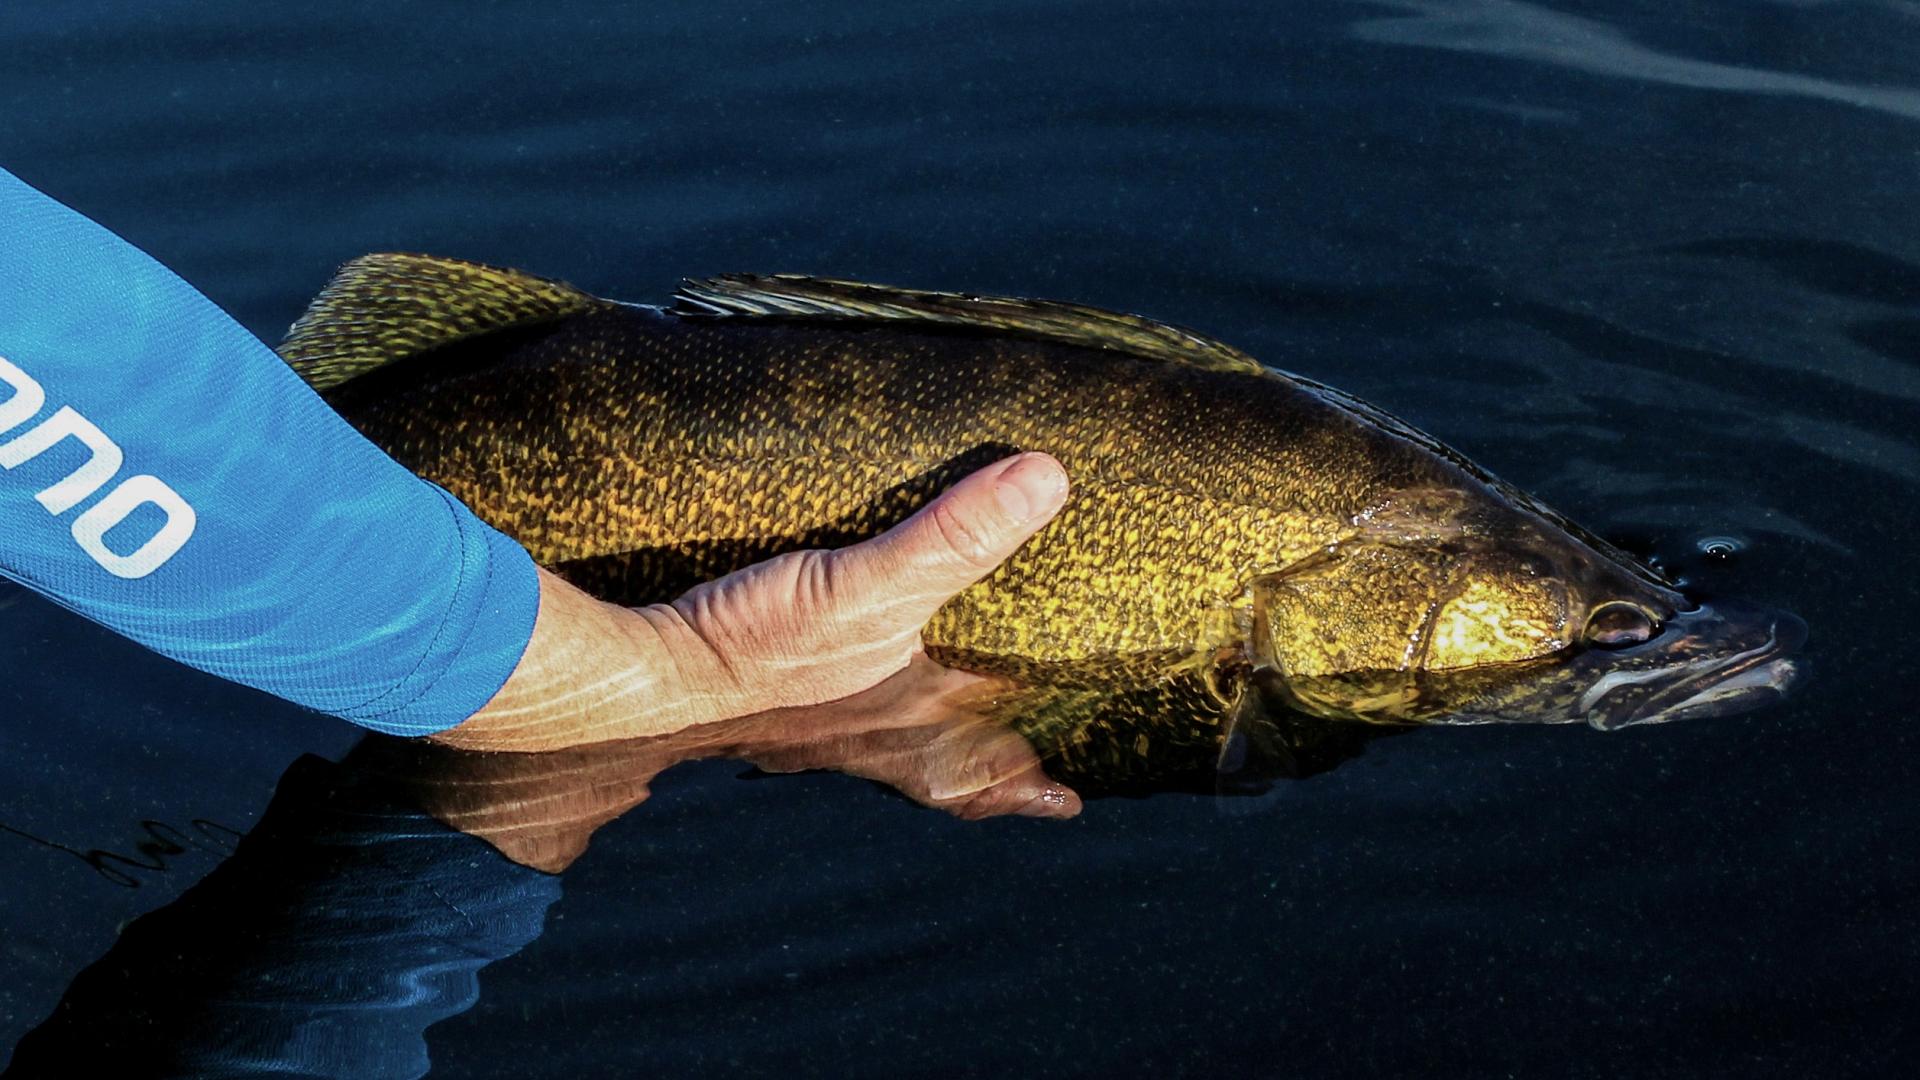
When it comes to releasing your catch, ensure you have a good grip as you gently lower it into the water. Contemporary thinking suggests it’s best to hold the fish by the tail only in a horizontal position in slack water (above), giving it plenty of time to re-energize and swim away on its own steam—and rest up to be caught another day.
Walleye Whispering
 Kevin Wilson
While it doesn’t work with every fish species, you can immobilize a walleye by placing your open palm under its belly and gripping the tail with your other hand. When you do this, the fish will almost always become docile and remain motionless for a photo. And if you tickle the belly, the dorsal fin will often fold open, making for an even better pose.