CROWN LAND KINGS
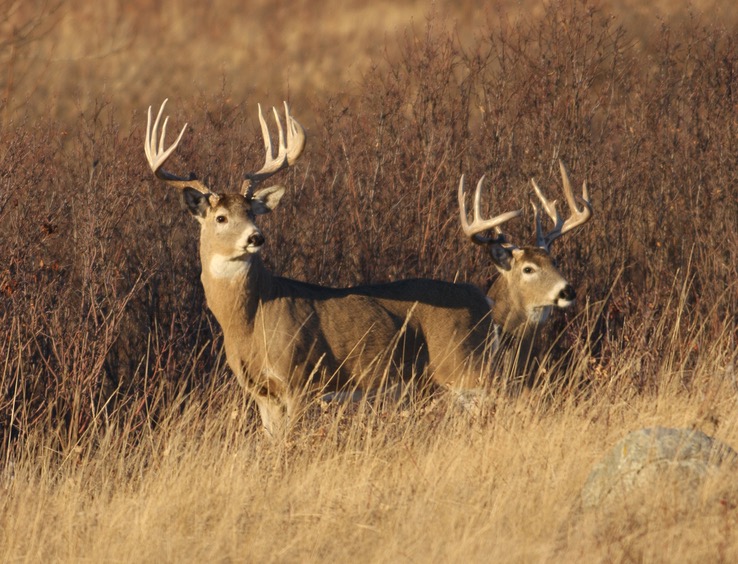
Can’t get permission to hunt for whitetails on private property? Go public instead this fall to get your trophy buck
Advertisement

#1 SCOUT
There’s a tremendous amount of accessible public land across Canada—89 per cent of the country, to be exact, is owned by either the federal government or the provincial governments. Government agencies offer online access to maps and resources to pinpoint crown land that’s available for hunting; there are also several guides on YouTube (for links, go to www.outdoorcanada.ca/crownland).
Advertisement
Once you’ve pinpointed sections of public land that offer hunting opportunities, the best tool to get you started is Google Earth. Spend some time studying the detailed satellite and aerial images of the areas you plan to hunt, taking note of the topography, habitat types and access points.
Next, it’s time to conduct a thorough, boots-on-the-ground reconnaissance mission. Wear scent-free rubber footwear, and be mindful of ticks if they’re in the region; light-coloured pants are best for spotting these unwanted hitchhikers. Plan to do just one comprehensive search of the area for deer sign rather than returning several times. If you happen to bump some deer, they will come back that night and settle back in. If wary bucks are repeatedly disturbed, however, they will relocate.
Watch for pinch points in the terrain that could shelter cruising bucks
While scouting, look for food sources where elusive bucks can remain hidden or tight to dense cover that offers a quick escape route. If it’s a bumper year for acorns, design your pre-rut hunt to focus on stands of white or red oak. Whitetails will gobble down this nutritious mast within the safe confines of the forest, reining in their daytime travel patterns. Similarly, look for water sources where bucks can drink without exposing themselves to danger.
Advertisement
The area should also have a heavily wooded portion that serves as a daytime sanctuary for bedding down, complete with secure travel routes offering the paths of least resistance to feeding areas. As well, watch for pinch points in the terrain that could shelter cruising bucks.
All the while during your scouting mission, keep an eye out for potential stand locations and access routes that will have minimal impact on your hunt. Be sure to take into account the prevailing wind direction, and the topography. And be patient—you may need scout out several different areas before finding one with promising hunting opportunities.
Once you find big buck sign in the form of scrapes (by far the most important sign), rubs, tracks, droppings or beds, it’s time to deploy your trusted trail cameras (see “Surveillance time” below). Deer density is critical—the more does there are in the area, the greater the probability that bucks will stick around as the rut ramps up. If there are no does, however, bucks may wander as far as five kilometres away in search of love, which is not ideal for your hunting prospects.
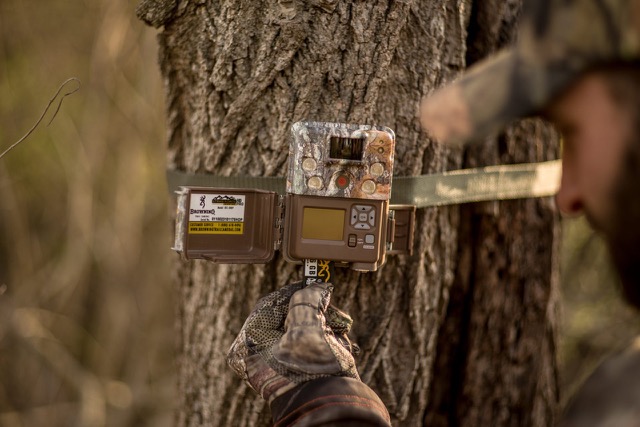
BONUS TIP: SURVEILLANCE TIME
When setting up your cameras, follow these tips for the best results.
- Use scent-free gloves when handling trail cams.
- Place your cams 15 feet downwind of active sign, ideally a scrape; I place 90 per cent of my cams over scrapes.
- To minimize your presence in the area, use cellular trail cams if your budget allows and there’s a solid signal in the area (a booster antennae is available for some models).
- Use long-lasting lithium batteries to ensure your cameras remain active.
- If necessary, make a mock scrape to lure bucks in front of your camera. Expose three square feet of dirt with your scent-free boots, directly under an overhanging branch that the deer can lick. The scrape should also be along a habitat transition zone, where the forest meets a field, orchard or swamp.
- Place your cam in a metal housing and lock it to the tree to help prevent theft. The housing will also protect your valuable device from curious bears.