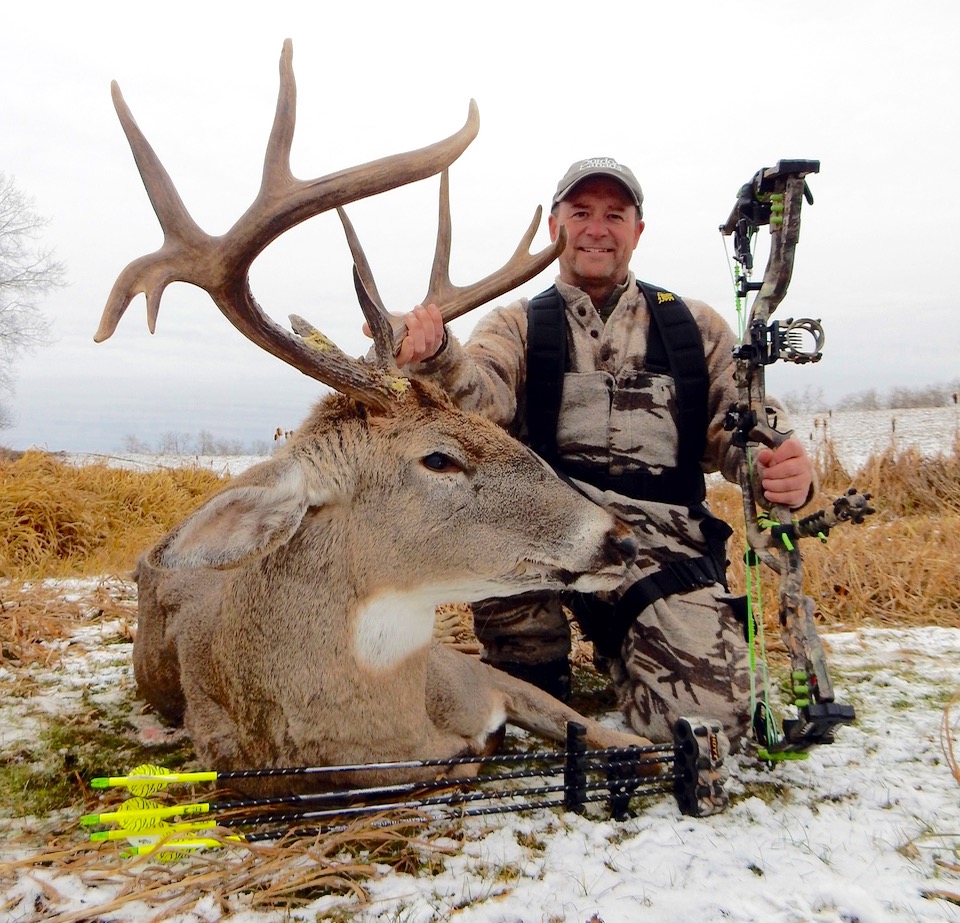
Archery art
Customize your own eye-catching, high-performance arrows
Advertisement
Looking to make a unique mark in the field? Creating your own custom arrows serves to not only meet your performance needs, but to also reflect your personal style. And when it comes to shafts, vanes, wraps and nocks, there have never been more options. Here’s how to assemble a quiver to call your own.
THE COMPONENTS
Advertisement
First, choose the type and size of shaft you want to shoot. There are a lot of commercial options, ranging from aluminum to carbon fibre, but I’m a big fan of arrows with a metal jacket and a carbon core, so I shoot Easton FMJs. Keep in mind that some shafts require proprietary inserts and tips, while others are universal. Now available in many different sizes, colours and designs, vinyl arrow wraps can offer an additional personal touch.
[easy-tweet tweet=”Creating custom arrows can meet your performance needs, and also reflect your personal style. Here’s how to do it” user=”OutdoorCanada” hashtags=”bowhunting, archery, hunting”]
Next, select the size, shape, design and colour of the plastic or feather fletching you want to use. I’ve used feather fletching at times, but as a rule, I prefer two-inch Bohning Blazer vanes. You can also opt for either a three- or four-fletch configuration. As well, there are now wrap and vane combos that easily adhere in just 10 seconds by dipping the shaft in boiling water, such as New Archery Products’ QuikFletch.
Advertisement
As for nocks, there are plenty of options here as well. I like to match the colour of my nocks to the fletching, although nothing says “custom” more than tricking out your arrows with lighted nocks.
THE TOOLS
Arrows all come in a uniform length, so you need an arrow saw to cut them down to match your draw length. My arrows are cut to 28 inches, for example. If you don’t have access to a saw, your local pro shop can cut them down for you.
 Personalize arrows to suit your hunting
For installing the fletching, you’ll need a fletching jig. These devices come in a variety of configurations, but one of my favourites is the Bohning Tower Fletching Jig. It’s easy to use, providing precise offset helical positioning on each arrow (it’s particularly handy for installing all three fletches at once).
While most fast-drying, super-bonding glues can be used when assembling your custom arrows, be sure to check the manufacturers’ recommendations on what adhesives are best suited for the shafts, inserts and fletching you plan to use. For example, some glues just don’t work on carbon shafts. Adhesives such as Bohning Fletch Glue, Carbon Express ExpressBond and Super Glue are all generally good choices.
THE ASSEMBLY
First, install the broadhead insert with a suitable super-bonding adhesive. Before applying the glue, however, gently sand the end of the shaft with a grinding stone to remove any sharp edges. Then clean the inside of the shaft with a cotton swab dipped in denatured alcohol. For hidden inserts, such as those that come with the Easton Axis shafts, you can use either the two-part epoxy that comes with the shafts or the likes of Bohning’s PowerBond. While some adhesives dry faster than others, I like to leave arrows for a full 24 hours before continuing to work on them.
Once your inserts have been installed and the glue is dry, you can proceed with attaching the wraps and fletching. Here, the first step is to clean the shaft with acetone, solvent or an abrasive cleanser such as Ajax or Comet; thoroughly rinse the shafts under hot running water and let them air-dry. To attach a wrap, place the shaft on top of the adhesive backing, then press down as you slowly and carefully roll the shaft, ensuring the wrap goes on evenly.
Once the wrap is secure, you can move on to the fletching. With my Tower Fletching Jig, it’s as simple as standing the shaft on the centre post, inserting the fletching into each slot on the arms and applying a conservative amount of glue. I then close and lock each arm in place with the jig bracket. After 10 minutes, I carefully remove the fletched arrow and put it aside to cure. Even though the glue dries quickly, I like to leave my arrows for a day before shooting them. That way, I know they’ll be at the ready when it really counts—out in the field.
Edmonton bowhunter Kevin Wilson customizes 60 or so arrows a year.