ON HIGH
Safely rig the quintessential treestand to ensure success
Advertisement
A lot goes into choosing, then hanging and rigging a proper treestand. After locating a decent game-movement corridor and selecting the right tree, it’s time to put steps, climbing sticks or a ladder in place, then mount the stand itself.
Finally, you need to equip your set-up with gear hangers, a lifeline and a tow rope or two. Rig your stand in the following manner, and you’ll be well on your way to enjoying a safe and successful hunt.
Advertisement
MOUNTING YOUR STAND
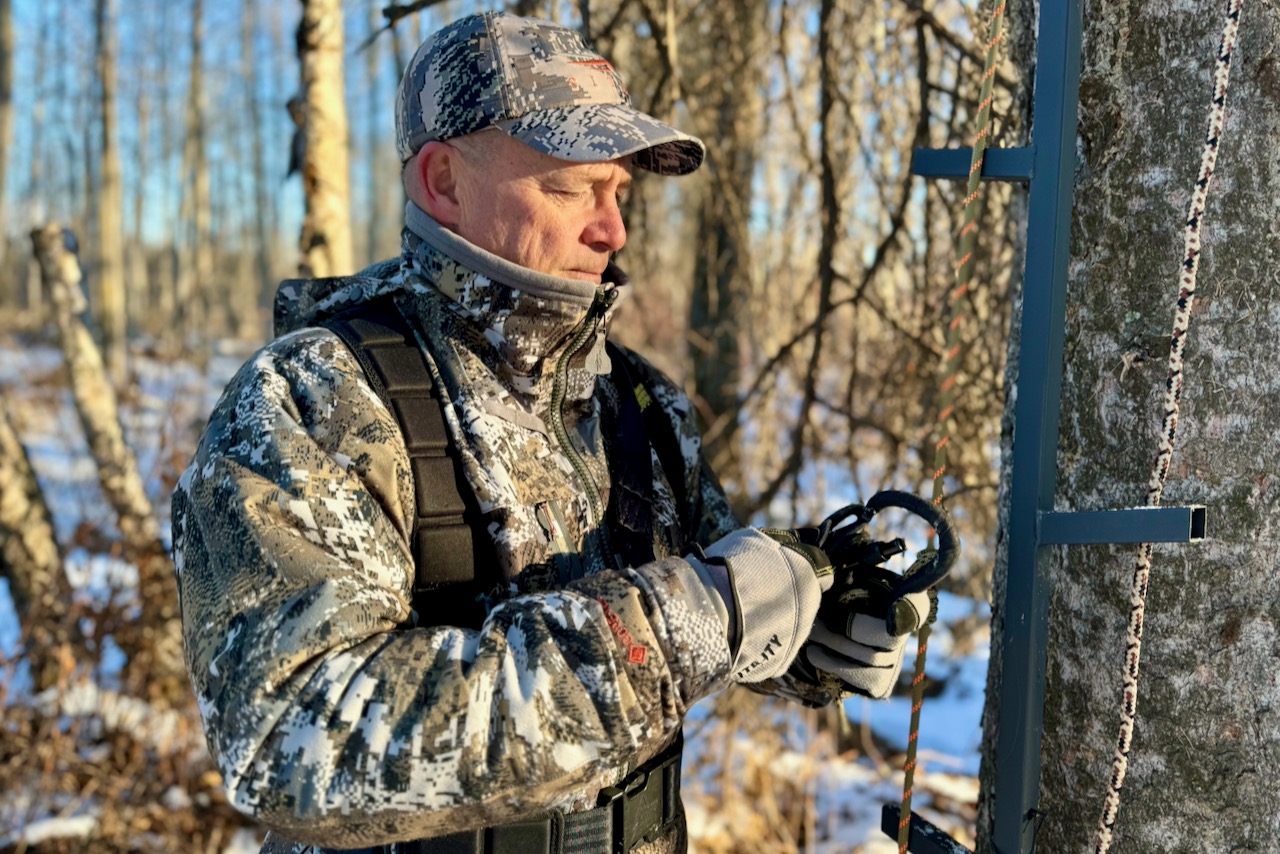
As I get older, I prefer climbing sticks, typically sectional sticks that get me up to 20 feet. Alternatively, you can use screw-in tree steps, but they can be tougher to install. Ladder stands are also a good option, although they’re more visible to game. With safety always a priority, use a lineman’s belt to keep yourself fastened to the tree any time your feet are off the ground as you install the sticks or steps, then haul up and attach the stand.
After my sticks are in place, I mount my stand so the platform is at a height of 18 feet, in line with the edge of the stand itself. This allows me to comfortably step on to the platform once the stand is fastened to the tree.
Advertisement
Another important consideration is how you fasten the stand to the tree. While each commercial stand approved by the Treestand Manufacturer’s Association has a fastening strap or buckle, it is always recommended to enhance the strength and stability of the mounting system with at least two robust ratchet straps designed to handle more than the weight of the hunter.

Aside from that, the positioning of the stand is also key. Carefully evaluate the most probable direction from which game will approach, along with potential shot angles. To accommodate a 90-degree shot, right-handed shooters should pivot the stand to the right, while southpaws will want to pivot more to the left. A common problem many bowhunters encounter occurs when a target animal is standing directly in front of the stand and they try to draw their bow, but can’t because their elbow hits the tree. Offsetting the angle of the stand helps lessen the chances of this happening.
Next, clear away any branches that might impede your ability to draw your bow or swing left or right for a shot. This usually involves a careful balance between leaving boughs to help conceal your presence, and opening things up for mobility and visibility.
RIGGING FOR SUCCESS
Now it’s time to accessorize your stand, starting with at least one hook to hang a daypack or other items; some bowhunters screw in a couple of different hooks to give them options. I’m right-handed, so I grip my bow with my left hand. With that in mind, I like to hang my daypack out of the way on the right side of the tree, typically at waist height. That allows me to then screw in a bow hanger on my left side at head height. Essentially, your goal is to have your bow hanging with an arrow nocked, ready to go only inches away so you can minimize movement once game appears.
Every stand should have at least one, maybe even two, tow ropes. The top end can be fastened to the stand itself or a strong, convenient branch. The bottom end should hang a few feet off the ground. I like to attach a carabiner to the bottom end so I can quickly clip on my bow to pull it up into the stand.
Last, but certainly not least, every stand should be equipped with a sturdy lifeline. It wraps around the circumference of the tree a couple feet above the seat and hangs down to the base of the tree. A tether is attached to the lifeline using a sliding prusik knot, and to the hunter’s safety harness using an approved locking carabiner. This imperative piece of safety equipment allows you to remain attached to the line from the moment you leave the ground to the time you step into the stand, then later return to the ground. Should you fall, you’ll only drop a couple of feet before the prusik knot on your tether catches and stops the fall.
