BACKPACK CUISINE
You don’t need to sacrifice nutrition or taste when eating out of a bag. Here’s how
Advertisement
Make the meals
There are two types of do-it-yourself dehydrated meals that work well in the field: either dry individual ingredients to use in sauces, soups or stews out in the field, or dehydrated complete meals. The downside to the first option is that you’ll need one or more pots and a stove or fire to rehydrate and cook the ingredients.
Advertisement
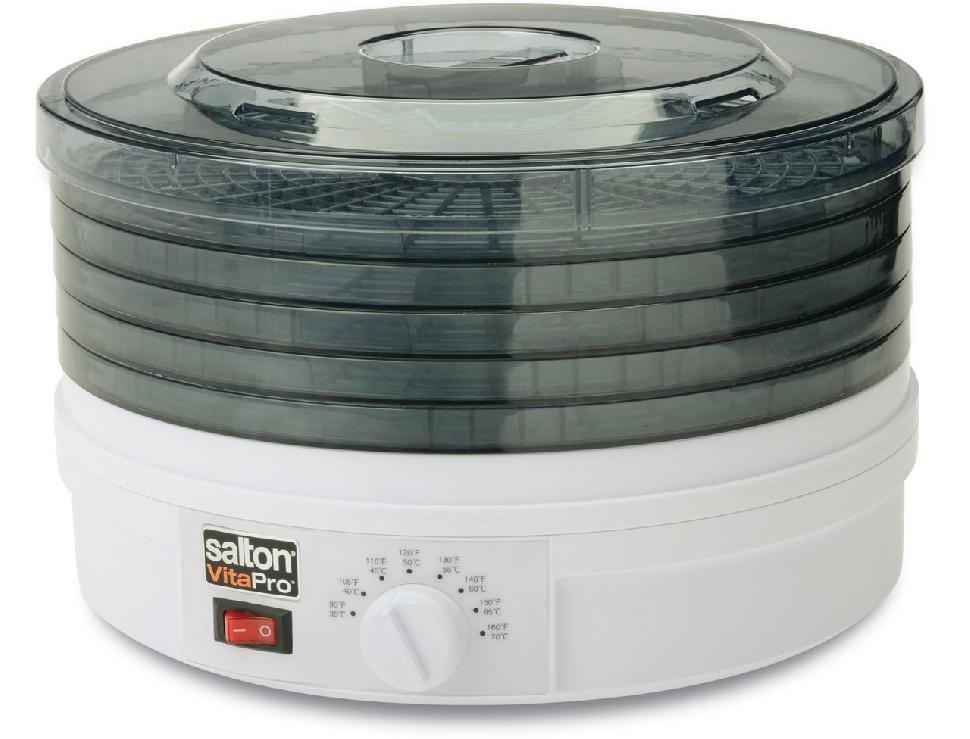
Dehydrating complete meals, on the other hand, is simple. Just prepare and cook your favourite casserole-type meal, remembering to calculate the total number of calories. Once it has cooled, cut the meal into cubes approximately one inch per side and place in a dehydrator. Depending on the make and model of your dehydrator, and the amount of food being processed, the drying process will take between six and 18 hours.
Divvy up the dried cubes into separate meals according to how many calories you require per meal, storing each meal in a separate, medium-size sealable freezer bag. Be sure to label the bags with the meal type and number of calories. Dehydrated food can be stored in a freezer to extend its shelf life, but it’s a good practice to make the meals just before your trip.
Use extra caution when dehydrating meals with meat and fish to avoid the risk of food poisoning. If any water remains, bacterial growth is possible, although the risk is low. It’s worth noting that canned meat dehydrates better than fresh. Also keep in mind that although high-fat meals have lots of energy, they can be difficult to dehydrate, because as the water evaporates, liquid fat pools on the surface. Cheese can also be difficult to rehydrate, so use pre-dried cheese, such as Parmesan, for better results.
Advertisement