Flashers can seem complicated to new ice anglers. Here's what you should know
Advertisement
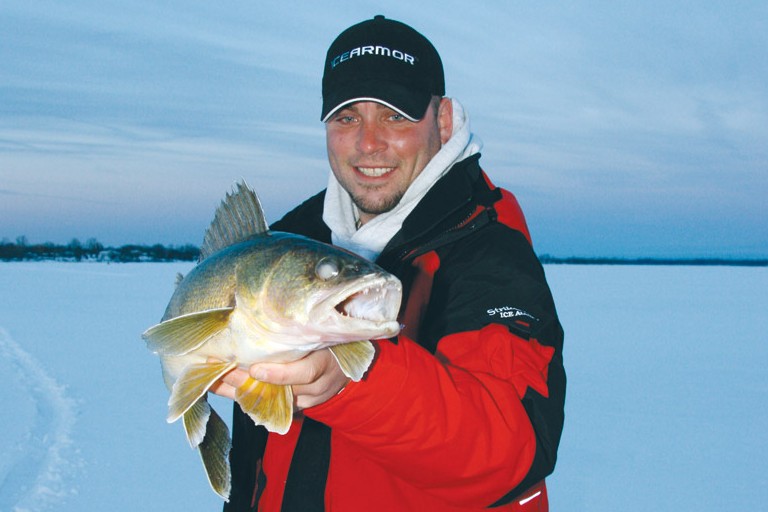
Long popular with ice anglers is the flasher, a sonar unit that reveals objects in the water column via a circular screen. To the beginner, however, the flasher may seem complicated. Even some veteran ice anglers don’t use the device to its full potential. For tips on how to get the most out of a flasher, we consulted G2 Angling co-founder Grant McAllister, who specializes in guiding clients to winter walleye on Ontario’s frozen Bay of Quinte.
1. Drop the transducer
After you’ve plugged in the battery and turned on the unit, drop the transducer down your ice hole. With older units, make sure the transducer sits at or below the bottom edge of the ice. Otherwise, the signal may bounce off the ice and you may not get as clear a picture. That said, newer units read through the ice much better.
Advertisement
2. Set the range
Depending on the model, flashers can read from one foot to 240 feet of water. If you’ve done your homework with a hydrographic map or you have mapping software on your sonar unit, GPS or smart phone, you should generally know how deep you’re fishing. To get the best reading, set the bottom depth at the next deepest range setting to the actual depth. For example, if the actual depth is 27 feet, set the bottom for 30.
3. Adjust the gain
Essentially, “gain” is the amount of power the transducer emits. It controls the sonar signal, which travels from the transducer to the lake bottom and back to the unit. The deeper the water, the more gain you’re going to need. Start by turning up the gain until you get a lot of interference, then slowly back it off until the screen just starts to clear. This will give you the most gain and the best indication if anything is in the water column.
4. Zoom in
To get the ultimate resolution and the greatest sensitivity possible, zoom in on the section of the water column that’s likely to hold fish. For example, if you’re fishing in 28 feet of water for bottom dwellers such as walleye, zoom in so only the bottom 10 feet shows up on the screen. Every flasher’s zoom works a bit differently, so McAllister recommends you carefully read the user manual for specifics.
Advertisement
5. Start jigging
When you drop your lure down the hole, you should be able to see it clearly on the screen, represented as a bar. The idea is to make that bar as thin as possible by further fine-tuning the gain (see step 3). That way, you can distinguish it from any other movement on the screen. If your lure is not appearing as a solid line, turn the gain up so it stays as a constant line—you don’t want it flickering. Now, any other line you see between the bottom and the ice is either baitfish or—with any luck—the catch of the day.