SPIN DOCTORING
Catch more walleye by customizing your spinner rigs to give the fish exactly what they want
Advertisement
 Mike Hungle
BLADES
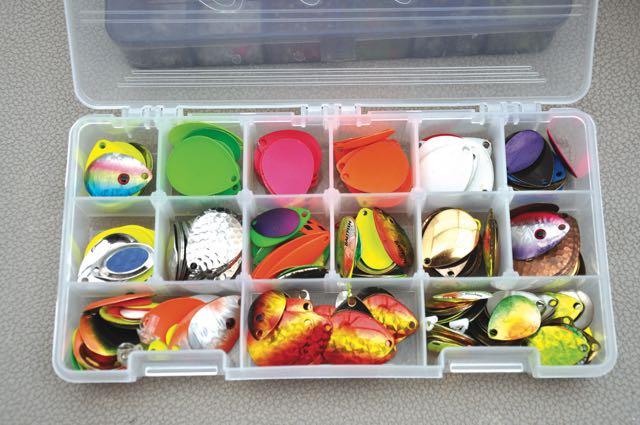
As a spinner rig is pulled through the water, the blade spins and produces fish-attracting vibrations, sounds and flashes of colour. Spinner blades come in countless styles, sizes and colours, but the general rule is that the bigger the blade, the more vibration and flash it will produce.
Since there’s such a wide variety of blades, experimenting is the best way to figure out which ones to use. I tie all my spinner rigs with quick-change clevises, which enables me to switch out blades quickly and easily, without cutting apart and rebuilding the entire rig. Try each blade for about 10 minutes. If you don’t catch a fish or feel any strikes during that period, it’s time for something different.
Advertisement
How do you narrow down your blade choices? In clear water, walleye are able to see long distances, so this is the time to try natural-coloured blades. These include holographic baitfish replicas or gold, silver, copper (below), brass, nickel and white to represent local forage.
In murky water or areas with high current, the walleye can’t see as far, so use bright colours such as chartreuse, fluorescent pink, orange and red. In low-light conditions, darker colours such as blue, purple, brown and black work best.
Advertisement
Smaller blades are tops in clear or shallow water, as well as when fishing for lethargic walleye or during a cold front. And as you might have guessed, larger blades are suited to aggressive fish, as well as to fishing deep water, windswept areas and spots with high current, where the water will be murky.
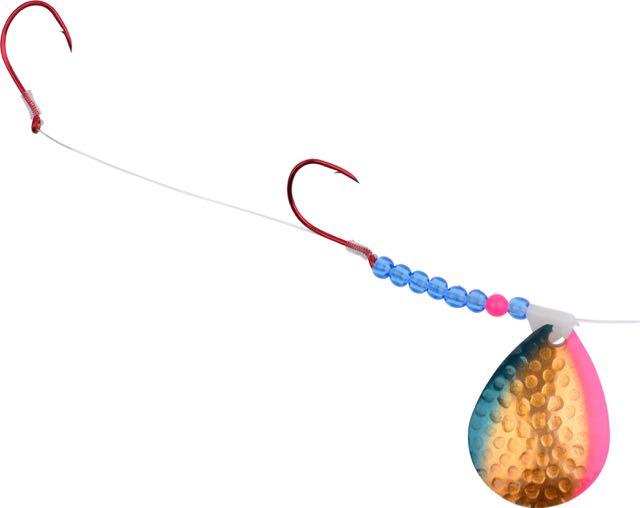
Another option is adding a second blade to the spinner rig to make it more visible and much noisier. One easy, effective way to do this is to attach both blades to the same clevis. Use two blades of different sizes, and make sure to put the smaller one on top so that they spin properly.
Advertisement
You can also attach a second blade with its own clevis. This gives you the option of stringing beads between the two clevises or placing the blades next to each other. Again, make sure the front blade is no larger than the rear one so they’ll spin properly.